What are the most common sources of household water leaks?
Most leaks come from pipework, joints and seals that wear out, are stressed by pressure changes, or suffer accidental damage. Corrosion, loose fittings, frozen pipes, worn washers and impacts can turn a small fault into a persistent leak; knowing these causes helps you focus inspections and quick repairs. High-priority areas include under-sink plumbing, washing machine hoses, toilet cisterns, external mains connections and roof flashings or tiles. The table below summarises the most common leak sources, likely causes, and quick actions homeowners can take before calling a pro.
Common leak sources, their usual causes and quick homeowner actions are shown below.
This quick comparison helps you decide which problems to tackle immediately and which need specialist help, then moves on to practical DIY checks for hidden leaks.
How to detect hidden plumbing leaks in your home
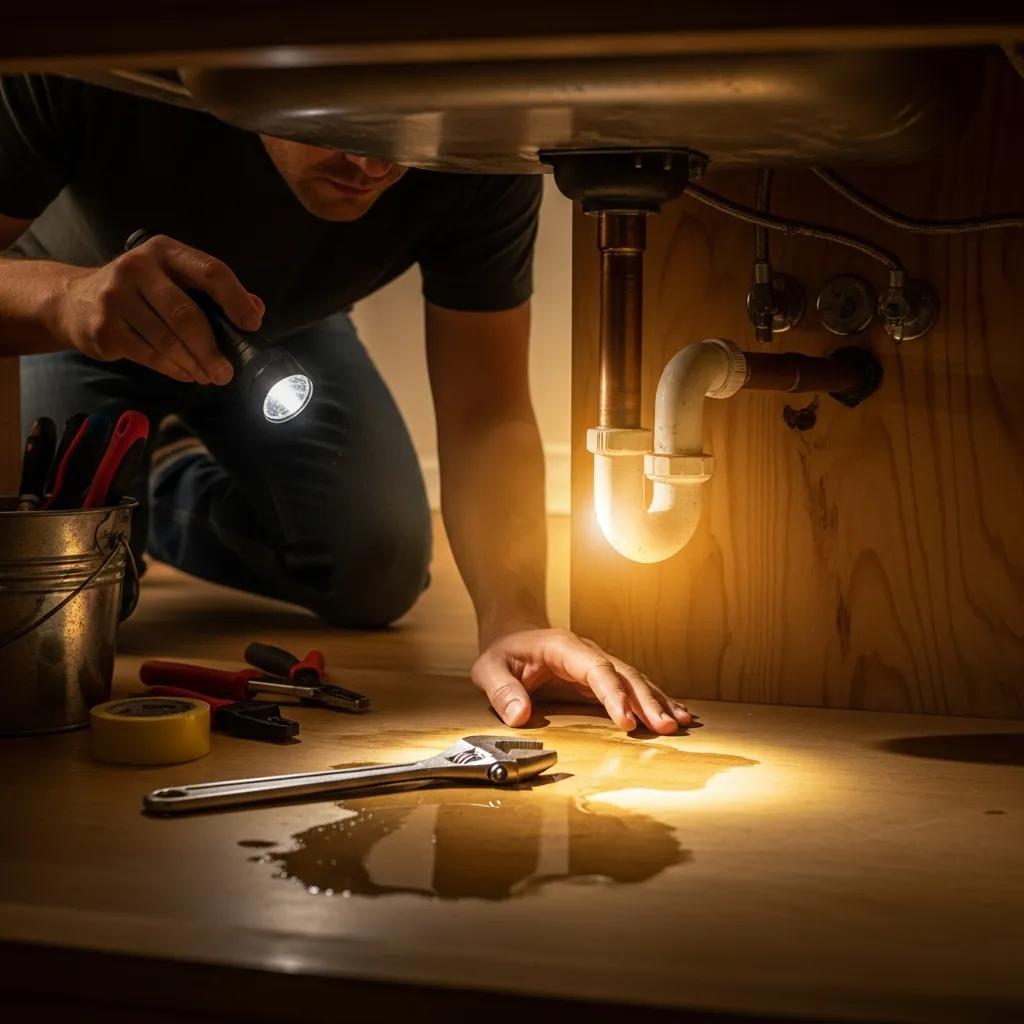
Hidden leaks often show up as indirect clues: a moving water meter, damp patches or a persistent musty smell. A structured approach speeds up the process of finding the source. Start with a meter isolation test: turn off everything that uses water, note the meter reading, wait 30–60 minutes without using water, then check again – steady movement indicates a concealed leak. Pair meter checks with simple dye tests (toilets) and visual inspections behind removable panels, under sinks and around appliance hoses to narrow the area before any invasive work. If tests suggest underfloor or in-wall leaks, move to specialist methods such as acoustic listening or thermal imaging – these can detect subsurface moisture without causing unnecessary damage. A clear first-pass workflow reduces disruption and helps you explain your findings to a tradesperson if needed.
Which fixtures and appliances are most likely to leak?
Some items fail more often because they’re used constantly or have several seals. Toilets commonly have silent leaks from worn flappers or fill valves, allowing water to bleed into the bowl. Washing machines and dishwashers tend to fail at flexible hoses and door seals, while boilers, radiators and heating components can leak at valves, joints or corroded panels, producing slow damp that may go unnoticed. Regularly checking hoses for corrosion or weeps and replacing old flexible hoses reduces the risk of sudden failure.
These simple precautions lead into the next section on monitoring and tools for systematic detection.
| Leak Source | Typical Cause | Typical Location / Quick Fix |
|---|---|---|
| Pipe joint leaks | Corrosion, loose compression fittings | Under floors or behind walls – tighten or replace the joint seal; isolate the water if you find active wetting |
| Toilet leaks | Worn flapper, valve failure | Cistern or bowl – perform a dye test and replace the valve or flapper if it’s leaking |
| Tap and tap leaks | Worn washers, cartridge failure | Kitchens and bathrooms – replace washers or cartridges to stop drips |
| Appliance hoses | Cracked or loose flexible hoses | Back of washing machines/dishwashers – fit new braided hoses and secure connections |
| Roof and gutter leaks | Flashing failure, blocked gutters | Roof valleys and eaves – clear gutters and apply a temporary patch to failed flashings |
What are the typical signs of water leaks in UK homes?
Leaks can be obvious – pools of water or staining – or hidden, revealed only by secondary signs like higher bills or damp smells. Visible signs include damp patches on walls or ceilings, bubbling or flaking paint, warped floorboards and standing water. Hidden signs include unexplained rises in water usage, continuous meter movement, musty odours and recurring mould in poorly ventilated areas. Use the checklist below to prioritise inspections and decide on immediate next steps before calling a professional.
Common visible and hidden signs include:
- Damp patches or discoloured paint: Localised staining on walls or ceilings that may worsen after rain.
- Warped flooring or lifted skirting: Wooden floors or skirting that cup, buckle or pull away.
- Unusually high water bills: Meter readings are rising when you haven’t used extra water.
- Persistent musty smell or mould: Especially inside cupboards, under sinks or behind wardrobes.
This checklist helps you focus inspections and choose temporary mitigation, such as isolating the supply or starting drying, before arranging repairs or specialist detection.
If you spot these signs, consult local emergency contacts or provider hubs in homeowner directories for immediate guidance and booking options. Noting urgent indicators helps set the threshold for calling emergency services and for taking basic interim actions, such as shutting off the mains.
How to recognise visible and hidden leak indicators
Interpreting indicators means combining simple sensory checks with objective measures. Do a methodical walkthrough, take a meter reading with all water off, photograph any damp areas, and inspect likely concealment spots such as under sinks, behind washing machines, and around boiler housings, where condensation can hide leaks. Use a non-invasive check – feel surfaces, lift skirting where safe – because a cool, damp surface or raised paint usually means ongoing moisture rather than old staining. Keep a written record – meter reading, photos, and notes – for insurers or tradespeople, and to decide whether to try DIY fixes, monitor the issue, or call in professionals.
When should you call an emergency plumber in Surrey for leaks?
Call an emergency plumber straight away if you see rapid pooling, uncontrollable flow, structural damage, or water touching electrical fittings – these are emergency situations that require a professional response. While you wait, isolate the mains stop valve, switch off electricity to affected areas if safe, move appliances and valuables away from water, and contain the spread with towels or buckets. Use this emergency checklist to decide whether to escalate: rapid, uncontrolled flow; water threatening the structure; contact with electrics; sewage backup; or inability to find or stop the leak yourself.
This checklist clarifies when to escalate and what documentation and steps you’ll need when arranging repairs or starting an insurance claim.
How can you assess and manage water damage repair costs in the UK?
Estimating repair costs starts with identifying the extent of damage, access requirements, and whether repairs are limited to pipework or require restoration. The main cost drivers are the area affected (surface repairs versus under-floor repairs), access difficulty (lifting floorboards, chasing walls), materials (pipe replacement, plastering, floor repairs), and extra trades such as plasterers or water-damage restoration specialists.
What factors influence water damage repair expenses?
Several linked factors push costs up: invasive access, contamination (sewage), structural repairs, and the need for multiple trades, all of which increase labour and coordination costs. Difficult access, requiring floorboard or wall chasing, adds carpentry and plastering costs; contaminated water requires specialist cleaning and can render some finishes unsalvageable. Involving insurance brings deductibles and claim processes that can lengthen timescales but may cover major costs; small out-of-pocket jobs are often quicker.
A thorough initial assessment with photos and prompt drying reduces ongoing damage and limits the scale of restoration work.
How to minimise repair costs after detecting a leak
Immediate mitigation limits damage: isolate the supply, remove standing water, ventilate and begin drying with fans, then document everything with dated photos for quotes and insurance. Get several written quotes from qualified trades to compare scope and pricing, and ask for itemised estimates so labour and materials are clear.
For minor issues, replace failed parts, such as hoses or valves, promptly to prevent escalation; for major intrusions, use temporary containment and professional drying to stop mould growth and structural deterioration. These steps reduce repair bills and strengthen any insurance claim, then move on to detection tools that reduce uncertainty.
Which tools and techniques help detect household water leaks?
Good detection combines simple DIY checks with specialist equipment, so you can accurately find leaks without causing unnecessary damage. Professional techniques include acoustic leak detection for pressurised pipes, thermal imaging for under-floor or in-wall moisture, moisture meters for surface checks, and CCTV drain surveys for cracked or blocked drains. The table below compares common detection tools by cost and best use to help homeowners and contractors pick the right approach.
This comparison will help you decide whether to try DIY checks or hire a specialist, and it leads into step-by-step methods that combine these tools to achieve reliable localisation.
What are effective methods for locating hidden plumbing leaks?
A staged approach works best: start with non-invasive DIY tests, then use intermediate tools, and bring in specialists for unclear or high-risk leaks. Begin with a meter isolation test and visual inspection, then use a moisture meter or thermal imaging to narrow the area; if the leak remains elusive or is under a slab, acoustic tracing or CCTV inspection will pinpoint it. For pressurised systems, listen along pipe runs with basic acoustic tools, or use dye tracing in isolated circuits, such as toilet overflows, to confirm pathways. This progression minimises damage and focuses costly specialist investigations where they’ll have the most impact.
How to use water leak detectors and monitoring devices at home
Consumer leak detectors and smart sensors provide early warning when installed in the right locations. Place sensors under sinks, beside washing machines and dishwashers, inside boiler cupboards and near utility meters – these are common leak origins. Pair sensors with automatic shut-off modules to more quickly contain serious leaks. Wired detectors suit permanent installations; wireless Wi-Fi or battery-powered units offer flexible coverage and push alerts to your phone.
Choose devices with good battery life and tamper protection for unattended areas. Layering detectors with periodic manual checks reduces the chance of long, undetected leaks and supports a preventative maintenance routine.
Research also shows advanced systems improve leak detection efficiency and cost-effectiveness, especially when smart technologies are integrated.
| Tool | Cost / Complexity | Best Use-Case / Accuracy |
|---|---|---|
| Moisture meter | Low / Low | Surface moisture checks around skirting and behind panels; instant readings |
| Thermal imaging camera | Medium / Medium | Reveal temperature differences that indicate concealed leaks under floors or inside walls |
| Acoustic leak detector | Medium–High / High | Locate pressurised pipe leaks inside walls or below floors with high accuracy |
| Drain CCTV | Medium–High / Specialist | Inspect drain lines for cracks, root ingress or failing joints |
How to prevent future water leaks and protect your home?
Prevention focuses on regular maintenance, quality parts and sensible upgrades. Routine checks and timely replacement of wear items significantly reduce risk. Simple maintenance tasks include quarterly visual checks under sinks, annual replacement of flexible appliance hoses, operating shut-off valves to ensure they work, and insulating exposed pipework before cold weather to avoid freezing. Upgrades that reduce risk include braided-steel hoses instead of old rubber hoses, higher-quality shut-off valves, and monitored leak detectors that can automatically trigger isolation valves. The checklist below outlines a seasonal routine you can follow and helps you choose emergency plumbing services.
Key preventative maintenance tasks are:
- Quarterly: Inspect under-sink areas, appliance hoses and visible pipework for weeps or corrosion.
- Annually: Operate and test all stop valves, replace flexible hoses on appliances and service boilers.
- Seasonal (Autumn/Winter): Insulate exposed pipework, bleed radiators and check loft insulation around pipes.
Following these routines reduces the likelihood of leaks and makes it easier to decide when to call a trusted emergency plumber.
What maintenance practices reduce leak risks?
A straightforward maintenance schedule prevents many common leaks by catching small failures early and keeping components functional. Operate stop valves twice a year to prevent seizing; proactively replace rubber flexible hoses with braided hoses. Check seals around outlets, monitor boiler pressure, look for slow radiator weeps, and keep gutters and roof flashings clear to prevent external water ingress. These practical checks help you avoid nasty surprises and judge when to book preventive replacement rather than emergency repair.
How to choose reliable emergency plumbing services in Surrey
Pick an emergency plumber by checking credentials, local reputation and clear communication about response times and scope. Verify insurance, read local reviews or ask for references, confirm emergency availability and typical response times, and get written scope notes or provisional estimates before work starts – this helps avoid unclear billing. Ask about experience with underfloor leaks or CCTV drain surveys, and ensure the contractor provides evidence of the repair and a workmanship warranty. Following these checks helps you find a trustworthy Surrey plumber and makes it easier to compare quotes when time is short.
If you want local resources, contractor selection tips or emergency contact guidance, consult homeowner directories and provider hubs for curated listings and practical next steps.
Conclusion
Spotting and fixing household water leaks protects your home and avoids costly repairs. By learning about common leak sources, reliable detection methods, and simple preventive steps, you can act sooner and reduce future risk. For more help, explore our resources on plumbing services and maintenance advice tailored for UK homes – start protecting your property today by putting these steps into practice.