Top 10 Plumbing Problems and How to Fix Them
Plumbing faults waste water, push up bills and can cause costly damage if left unaddressed. This guide walks you through the ten most common problems UK homeowners face and provides clear, practical steps to diagnose, fix or mitigate them. You’ll get straightforward DIY checks for dripping taps, blocked drains, low pressure, leaking pipes and other frequent issues – plus safe repair tips that save time and money.
We also cover prevention, essential tools and simple step-by-step procedures so you can tackle routine jobs with confidence and know when to call in a professional. There’s a local context in Surrey and Hampshire where hard water and limescale are particular concerns, and the recommended next steps point to qualified local services when DIY isn’t enough. For urgent faults or full repairs, Quad Plumbing Solutions provides plumbing and 24/7 emergency support across Surrey and Hampshire and can help with permanent solutions and specialist work.
What Causes Dripping Taps and How Can You Repair Them?
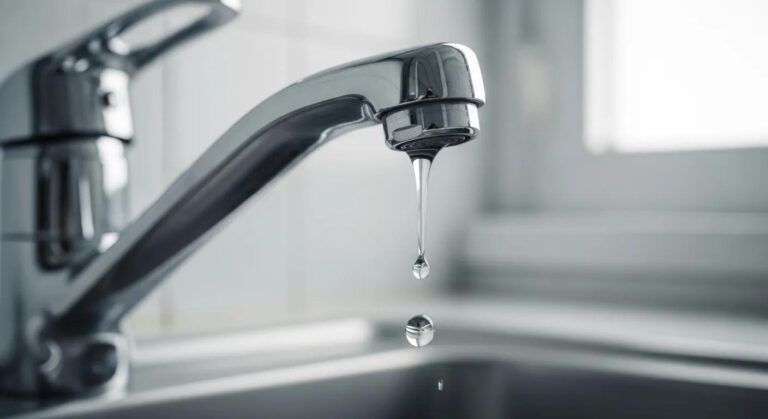
A dripping tap usually means an internal seal or part has failed – most often a worn washer, cartridge or O-ring. When seals weaken, pressurised water finds a way past the valve seat or cartridge, producing a steady drip that wastes water and accelerates limescale and corrosion. Spotting the issue early prevents valve-seat damage and saves you money.
Below, we list common mechanical causes and a safe DIY sequence for replacing worn parts and testing the tap once it’s back together. For more information on repairs, visit the general plumbing repairs page.
What Are the Common Reasons for a Dripping Tap?
Most drips come from a handful of repeatable faults that are easy to check with basic tools. Compression taps usually drip because a rubber washer has worn thin and no longer seals against the seat. Mixer taps leak when cartridges or O-rings fail. In hard-water areas like Surrey and Hampshire, limescale can prevent seals from seating properly. Identifying the failing component helps you buy the right replacement and avoids unnecessary dismantling.
- Typical causes are worn washers, damaged cartridges, degraded O-rings and limescale on valve seats.
- Each fault affects sealing differently, so inspect parts during disassembly to choose the correct repair.
- Replacing the faulty component usually fixes the leak unless corrosion is extensive and the whole tap needs replacing.
Use these categories to follow the simple repair workflow shown below.
How to Fix a Dripping Tap Yourself: Step-by-Step Guide
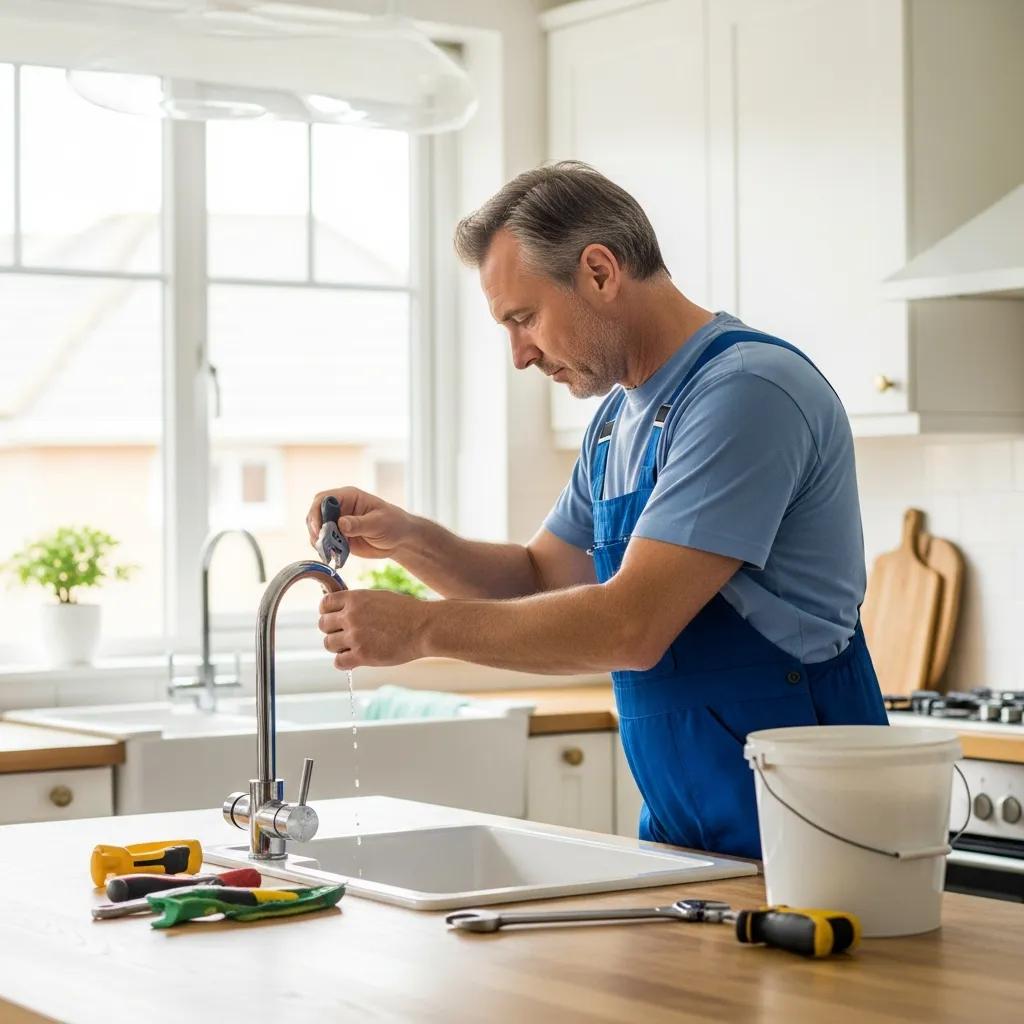
Before you start, isolate the water and gather the following basic tools: an adjustable spanner, screwdrivers, the correct replacement washer/cartridge/O-ring, a cloth, and a bucket. Turn off the local isolation valve or the mains stopcock, then open the tap to relieve the pressure. Remove the handle to expose the valve; inspect seals and components for wear or scale; clean any limescale or replace parts as needed; then reassemble and test under normal pressure. If the tap still drips after replacing obvious parts or the valve seat is badly corroded, call a professional to avoid further damage.
- Turn off the water: Close the stopcock, then open the tap to drain the pressure.
- Careful disassembly: Remove the handle and inspect the washer, cartridge and O-ring.
- Replace or clean parts: Fit the new washer/cartridge/O-ring or descale the valve seat, then reassemble and test.
These steps will fix most domestic drips; if the leak continues, seek a professional assessment to prevent worsening damage.
How to Identify and Solve Blocked Drain Issues Effectively
A blocked drain prevents wastewater from flowing and can cause slow drains, gurgling, bad smells, or surface backups. Causes range from hair and grease to foreign objects or tree-root ingress. A quick diagnosis distinguishes a trap-level clog from a deeper sewer problem – and that determines whether a plunger, drain snake or pro is needed. We set out safe, ordered solutions, from simple DIY options to professional services, so you can act without damaging pipes or the environment.
What Are the Typical Causes of Blocked Drains in UK Homes?
Most UK drain blockages build up gradually from everyday waste. Indoors, hair and soap scum collect in bathroom traps and cooking fats harden in kitchen pipes. Outside, tree roots and debris can obstruct shared drains. The rise in non-flushable wet wipes has made some blockages tougher to clear with household methods. Checking whether the issue is isolated to a single fixture or affects multiple fixtures helps you choose the right approach.
- Hair and soap scum gather in bends and traps, slowly reducing flow.
- Cooking fat and grease solidify and attract other solids in kitchen wastes.
- Flushed wipes and sanitary products form dense, persistent blockages.
These causes point to safe initial remedies before turning to chemical cleaners or calling a specialist.
What Are the Best DIY and Professional Solutions for Blocked Drains?
Start with the least invasive options: try a plunger, remove and clean the U-bend trap, or use a manual drain snake for blockages close to the fixture. For organic build-up, biological drain cleaners that digest grease and hair are kinder to older pipes than harsh caustics. If blockages persist or several drains are slow, a professional CCTV survey and high-pressure jetting will safely remove root ingress and consolidated fatbergs. For deep, repeated or external collapses, arrange a pro visit to avoid structural or environmental damage.
- Plunge and clean the trap: First-line, safe fixes for fixture-level clogs.
- Drain snake and biological cleaners: Next steps for deeper or organic obstructions.
- CCTV survey and jetting: Professional solutions for stubborn, recurring or external blockages.
If DIY doesn’t resolve the problem, a professional assessment can reduce further damage and restore full drainage – and local providers can advise on prevention.
How to Diagnose and Fix Low Water Pressure Problems at Home
Low water pressure makes daily chores harder and can affect a single outlet or the whole house. Causes include a partly closed stopcock, limescale, leaks, or problems with the mains supply.
Quick checks – confirm the stopcock is fully open, test multiple outlets and look for visible leaks – help you tell if it’s a local or system-wide issue. Fixes range from simple cleaning of showerheads and aerators to PRV adjustment or fitting a booster pump for chronic low pressure. The table below summarises common causes, symptoms and recommended actions to speed up diagnosis and response.
What Common Factors Lead to Low Water Pressure?
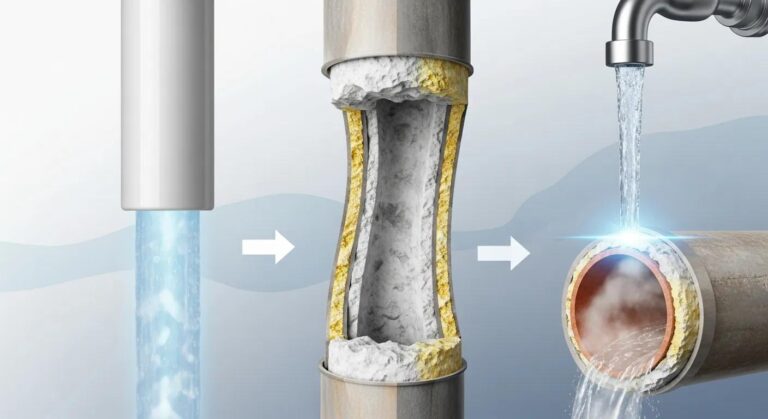
A few everyday issues create familiar signs that you can check without specialist tools. A partially closed isolation valve or stopcock usually causes low pressure across the property and is quick to verify. Limescale and sediment narrow the pipe bore over time – especially in hard-water areas like Surrey and Hampshire – and progressively reduce flow. Hidden leaks silently reduce system pressure and often appear as damp patches, mould, or rising water bills; a meter test can confirm this. For more information, visit our general plumbing services.
- Partial valve closure affects all outlets – check this first.
- Mineral deposits in hard-water areas gradually reduce flow.
- Hidden leaks cause steady pressure loss and often show secondary signs such as damp or higher bills.
These clues point you toward either simple DIY checks or the need for professional leak detection and repair.
What Are the Effective Methods to Improve Water Pressure?
Start with easy DIY checks: make sure the stopcock and isolation valves are open, clean aerators and showerheads of scale, and inspect visible pipework for leaks. If cleaning helps only partly, consider descaling the system for hot-water circuits or installing a pressure booster when the mains supply is consistently low. Corroded or undersized pipework may need professional replacement, while a mis-set PRV can be adjusted or replaced by a plumber. For hidden leaks, major problems, or complex upgrades, a qualified plumber will accurately diagnose and recommend options such as PRV servicing, booster pumps, or targeted pipe replacement.
- Open and test valves: Quick first step before further work.
- Descale and clean fittings: Often restores flow at fixtures and highlights remaining issues.
- Professional upgrades: Booster pumps, pipe replacement or PRV adjustments for persistent problems.
If you can’t find the cause or the problem affects the whole property, contact a local professional to avoid costly trial-and-error fixes.
| Cause | Symptom | Recommended Action |
|---|---|---|
| Partially closed stopcock | Low pressure at multiple outlets | Fully open the stopcock and retest; call a plumber if it’s stiff or stuck |
| Limescale or sediment | Reduced flow at fixtures, noisy appliances | Descale showerheads and taps; consider system descaling |
| Hidden leak | Pressure falls over time; unexplained high bills | Monitor the meter, check for damp areas, and arrange professional leak detection |
| Faulty PRV or mains issue | Whole-house low-pressure or fluctuations | Check PRV setting; contact your water supplier or a plumber for PRV replacement |
How to Detect and Repair Leaking Pipes Quickly and Safely
Leaks range from slow pinhole drips that cause hidden damage to sudden bursts needing immediate action. Early detection relies on spotting damp stains, mould, odd noises or unexplained rises in water bills. Emergency steps are simple: isolate the supply, contain the leak and protect your property until a permanent fix is arranged. Temporary DIY measures – pipe clamps, rubber patches or resin sleeves – can limit damage but aren’t long-term fixes on pressurised or corroded systems.
Below, we cover warning signs and compare short-term containment with permanent professional repairs so you can decide the right course.
What Are the Signs of Leaking Pipes in Your Property?
Hidden leaks give clear clues you can check without specialist tools: damp, discoloured or bubbling paint on walls and ceilings, recurring mould or musty smells, and an unexplained rise in water bills or continuous meter movement when everything is turned off. You may hear dripping or running water inside walls or under floors, while visible leaks show as pooling or wet patches near pipe runs. A simple meter test – note the reading, turn off all water for an hour, and recheck – confirms whether water is escaping unseen. Early recognition reduces repair complexity and limits secondary damage.
- Damp patches and mould often point to slow, concealed leaks behind walls or under floors.
- Continuous meter movement when nothing is in use usually indicates an unseen leak.
- Running-water noises in cavities or under floors are audible signs worth investigating.
Finding these signs early makes repairs easier and minimises damage, such as rot or the spread of mould.
What Are Temporary and Permanent Solutions for Leaking Pipes?
Temporary measures reduce immediate water loss; permanent repairs restore pipe integrity. Use temporary containment for safety and arrange a professional repair as soon as feasible. The comparison below outlines common temporary fixes, their trade-offs and the permanent professional options. Once you choose the right route, contact a qualified local plumber for a lasting repair.
Temporary fixes reduce immediate risk, but professional replacement or certified resin repairs deliver long-term reliability and usually prevent repeat call-outs.
- Shut off the water immediately: Isolate the affected supply to limit damage.
- Contain the leak: Use buckets, towels and a temporary clamp or resin while you arrange a repair.
- Book a permanent repair: Schedule a full replacement or professional repair for lasting integrity.
- For emergencies: Isolate the supply, contain water, then contact emergency plumbing support.
- Temporary containment: Apply clamps or resin to limit flow until a qualified repair can be made.
- Permanent remediation: Replace corroded sections or use professional resin/push-fit repairs for long-term reliability.
| Fix Type | Tool/Material Required | Skill Level | Estimated Time | Cost Range |
|---|---|---|---|---|
| Temporary clamp/patch | Pipe clamp, rubber patch, hose clips | Low | 15–60 minutes | |
| Epoxy or resin sleeve | Two-part resin repair kit | Moderate | 30–90 minutes | Low–Medium |
| Push-fit replacement | Push-fit coupler, pipe cutter | Moderate | 30–120 minutes | Medium |
| Full pipe replacement | New pipe, fittings, soldering or compression tools | High (professional) | Hours–Days | Medium–High |
Top 10 Plumbing Issues in the UK: DIY Fixes & Expert Advice
Dealing with common plumbing problems early saves time and money and prevents bigger, costlier repairs. Understanding issues such as dripping taps, blocked drains, and low water pressure helps you take sensible, safe steps to maintain your home’s plumbing.
When a job is beyond DIY or requires specialist attention, trusted local experts are ready to provide reliable, tailored solutions.
Explore our resources or contact a qualified plumber today for expert support and peace of mind.